
Grow Your Own Dahlias
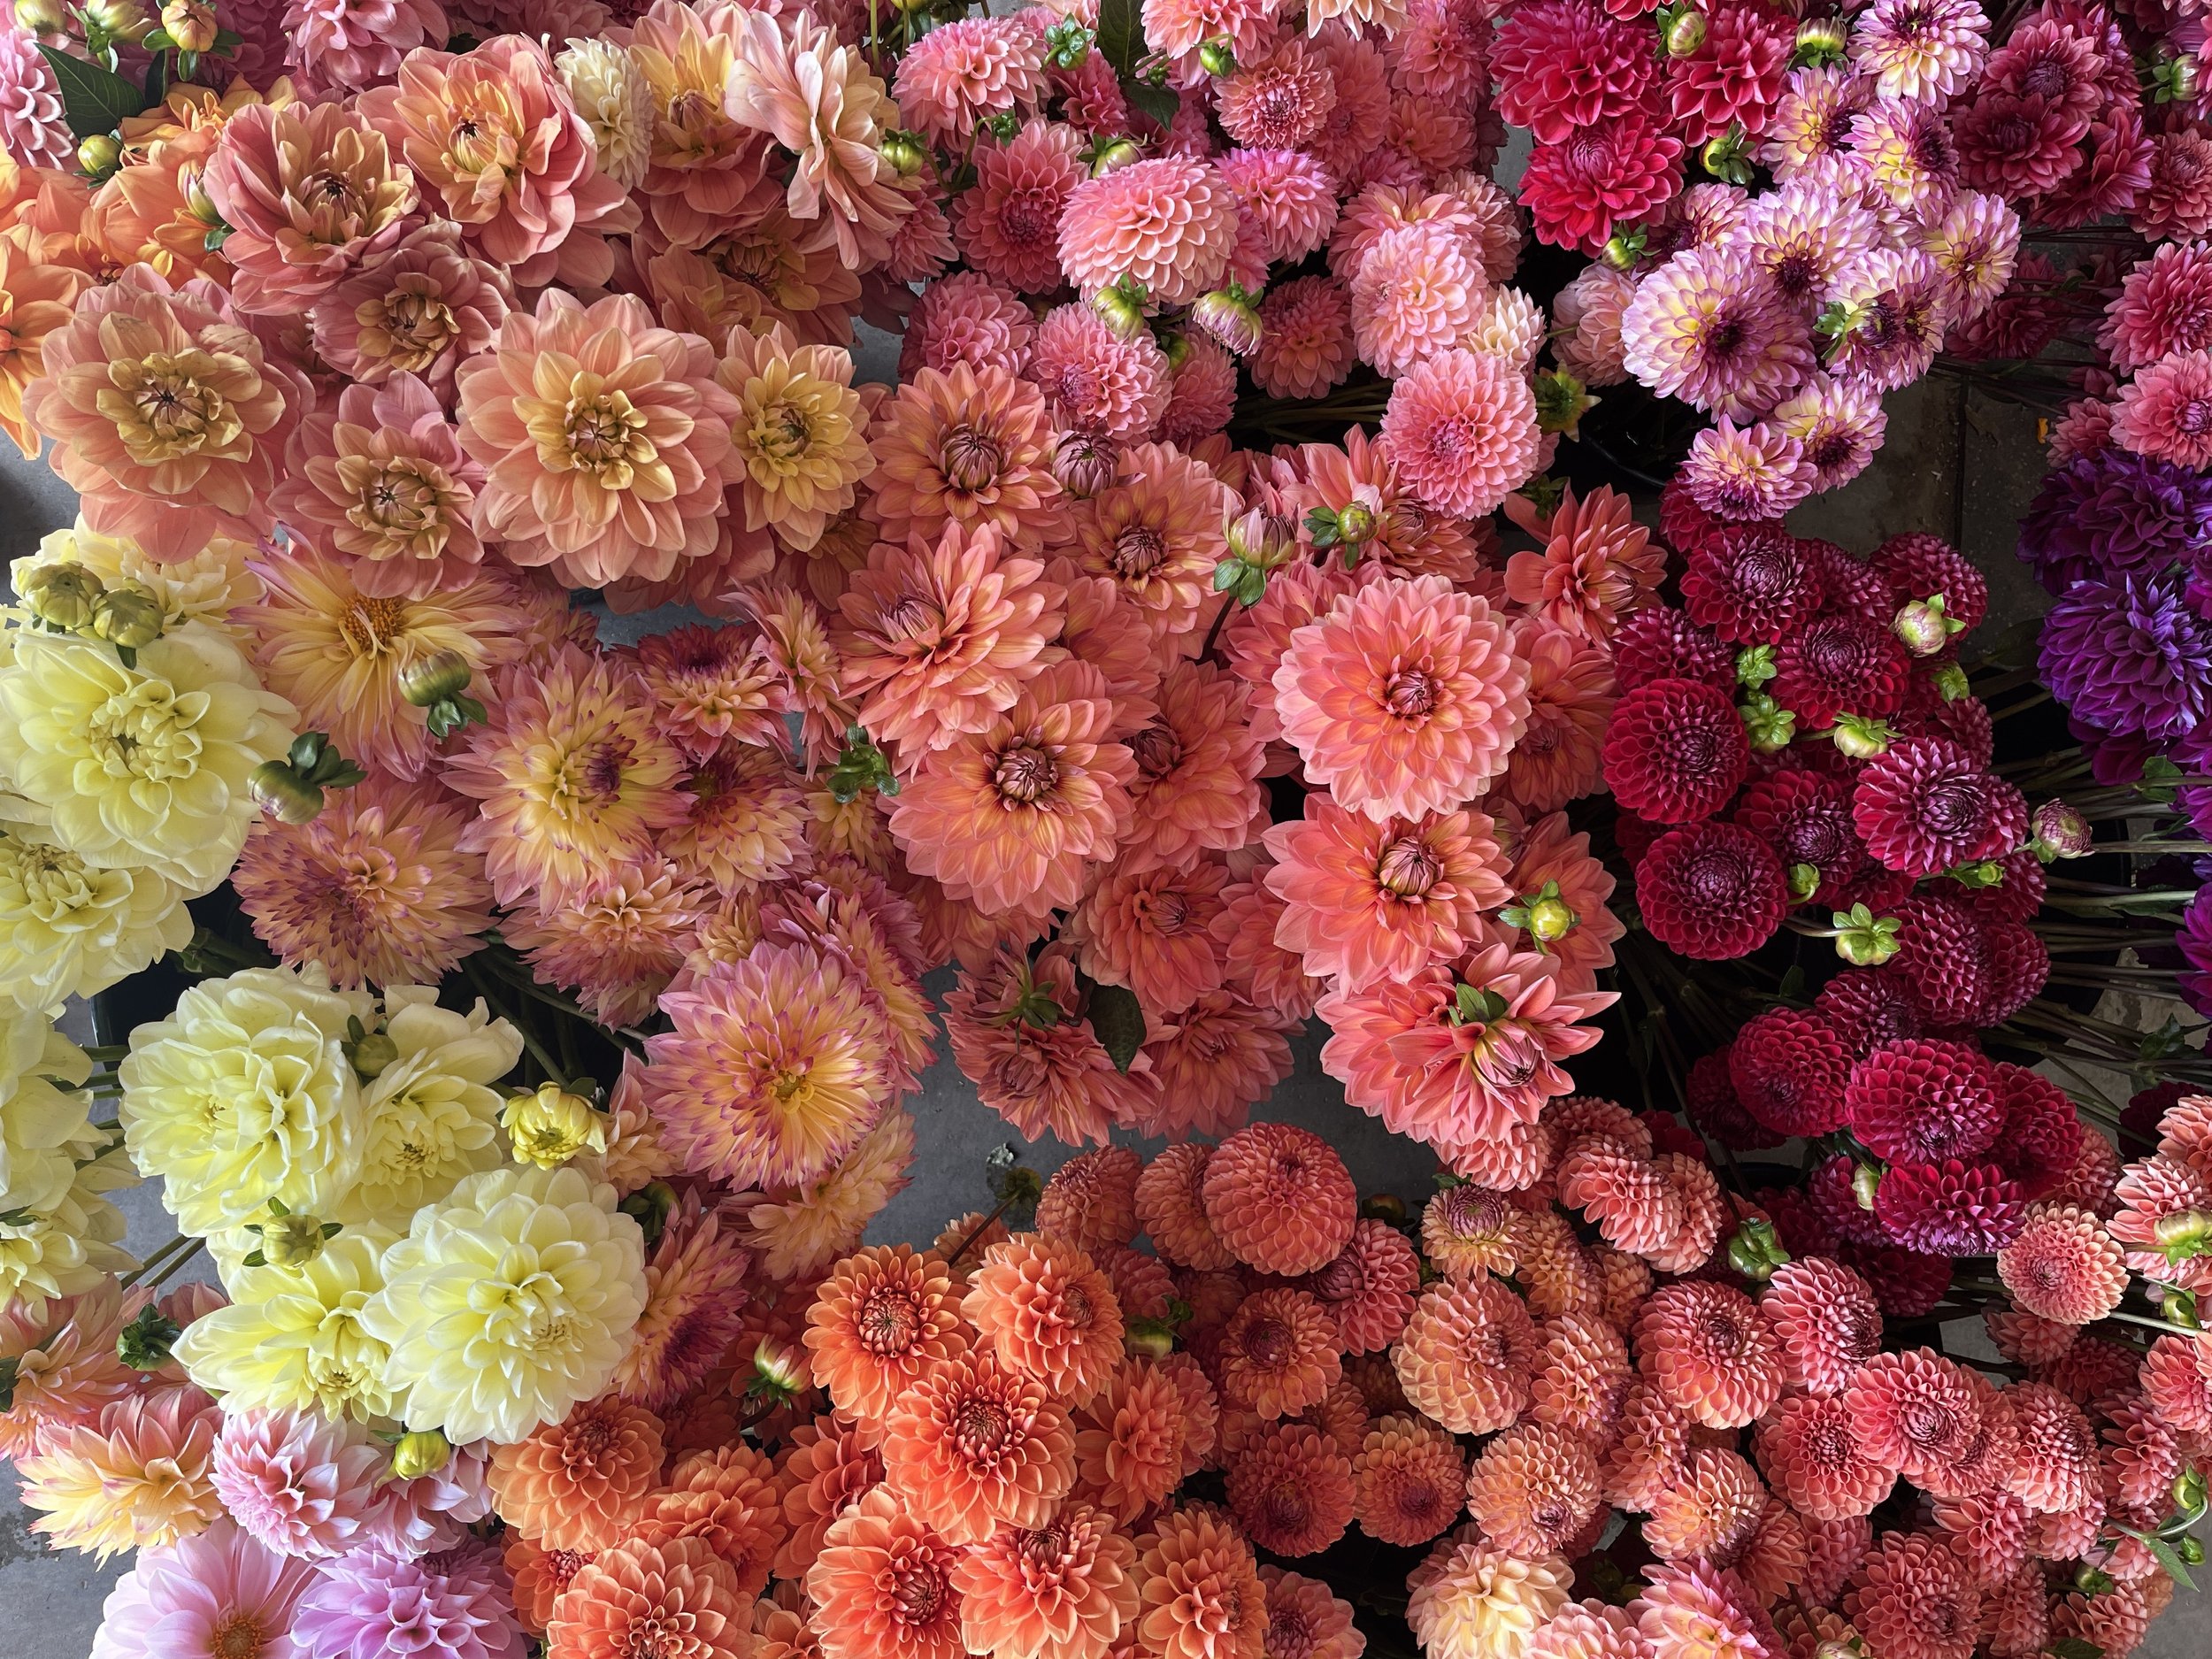
Learn how to grow dahlias for luscious flowers all August and September long. Topics covered include Planning ahead, planting out, growing on, digging & dividing tuber clumps at the end of the season, and winter storage.
PLANNING AHEAD
Choose a location with rich, well draining soil where your plants will get a minimum of 6 hours of direct sunlight. Add compost high in organic matter to amend you soil in this area. Make sure you have good access to water as dahlias will need to be irrigated in the heat of the summer.
PLANTING OUT
You can presprout dahlias to get a jumpstart on the season or plant them right into the soil. Soil temperatures must have reached 60 degrees F and all risk of frost has passed. This is generally mid May here in SE Minnesota. If you receive tubers before this point, store them in a cool, dry area until soil temps are warm enough. Basements or garages work great!
Use a shovel or fork to breakup or aerate your soil before planting and add a slow-release fertilizer. Look for fertilizers lower in nitrogen. This will encourage blooms versus vegetative growth. Dig a hole 6-8in deep, place tuber “eye” up and refill hole. Plant each tuber at least 18 inches apart.
Refill hole but DO NOT water. Tubers can rot very easily when too wet, making them unviable. There will be enough residual moisture in the ground to get the dahlia to sprout without any additional watering. Once you see green growth, then begin consistently watering your dahlia plants.
One tuber equals one plant, but each plant can produce 5-8 flowers in a season if cared for properly. Additionally, each tuber will create multiple tubers by the end of the season and can be divided to multiply your dahlia stock.
GROWING ON
Dahlias do better with deep waterings less often (weekly) versus light waterings more often (daily). We recommend a good soaking every week unless you are getting an inch or more of rain weekly.
When plants have 2-3 sets of leaves or are about 1 foot tall, remove the top 1-2 set of leaves. You can use a set of snips or “pinch” with your fingers, using your fingernail to remove the top of the plant. “Pinching” your dahlia plant will encourage bushier growth and more flower stems.
Make sure you give your dahlias support or they will topple over in heavy rain or strong wind. Tomato cages for individual plants work well. Otherwise posts with twine to “corral” them for multiple plants is recommended.
Dahlias are what we refer to in the cut world world as “cut and come again”s. This means the more harvest from them, the more flowers you will get! Bonus: you get to enjoy your dahlia flowers in the house. If you can’t bring yourself to harvest flowers, make sure you continue to deadhead spent blooms once a week to ensure your dahlias don’t set seed. This signals to the plant that their job is done and they no longer need to flower.
DIGGING
Dahlias are native to Mexico and thus will not overwinter here in SE Minnesota. You will have to dig them up before the ground freezes. But, because of this, you’ll find your one tuber has multiplied into many tubers! Dividing these tuber clumps will give you many clones of your original plant.
Before the first killing frost, make sure you have a map of what varieties are planted where or use flagging tape to physically label each variety.
After the first killing frost, cut back all foliage and use a shovel or fork to dig up each clump, being careful not to cut or spear tubers as this diminishes their viability. Remove excess dirt with hands or hose, depending upon how heavy or wet your soil is when digging.
DIVIDING
When ready, start dividing—while I recommend dividing sooner rather than later, I’ve waited until February to divide dahlias! Just make sure you have cool area that will not freeze with adequate humidity as tubers tend to dry out in our dry winters here.
To start, for larger clumps, use a garden knife or spade the cut into smaller, more manageable chunks. Otherwise use snips to divide off tubers, looking for “eyes” on each division as this is where growth comes from. Remove the mother tuber (the original tuber planted in the spring) and discard as it will most likely not be viable. You can tell the mother tuber from the rest as it is woodier, larger, or different colored than the rest. Like their flowers, each varieties’ tubers look and divide a little bit differently.
WINTER STORAGE
For overwinter storage, you can keep multiple tubers in a container with peat moss or vermiculite or saran wrap them into a big burrito. Either method is to maintain humidity so tubers don’t dry out, becoming unviable. Make sure you label tubers by variety so you know what’s what when you pull them out in the spring. I like to use garden markers and write right on the tuber. Keep tubers somewhere cool but will not freeze. Generally 40-50 degrees is best for overwinter storage.


